BlockyTubbies How to Get the Freedom Badge
Multi-step secret route across teleports, with quiet-server tips and tool prep.
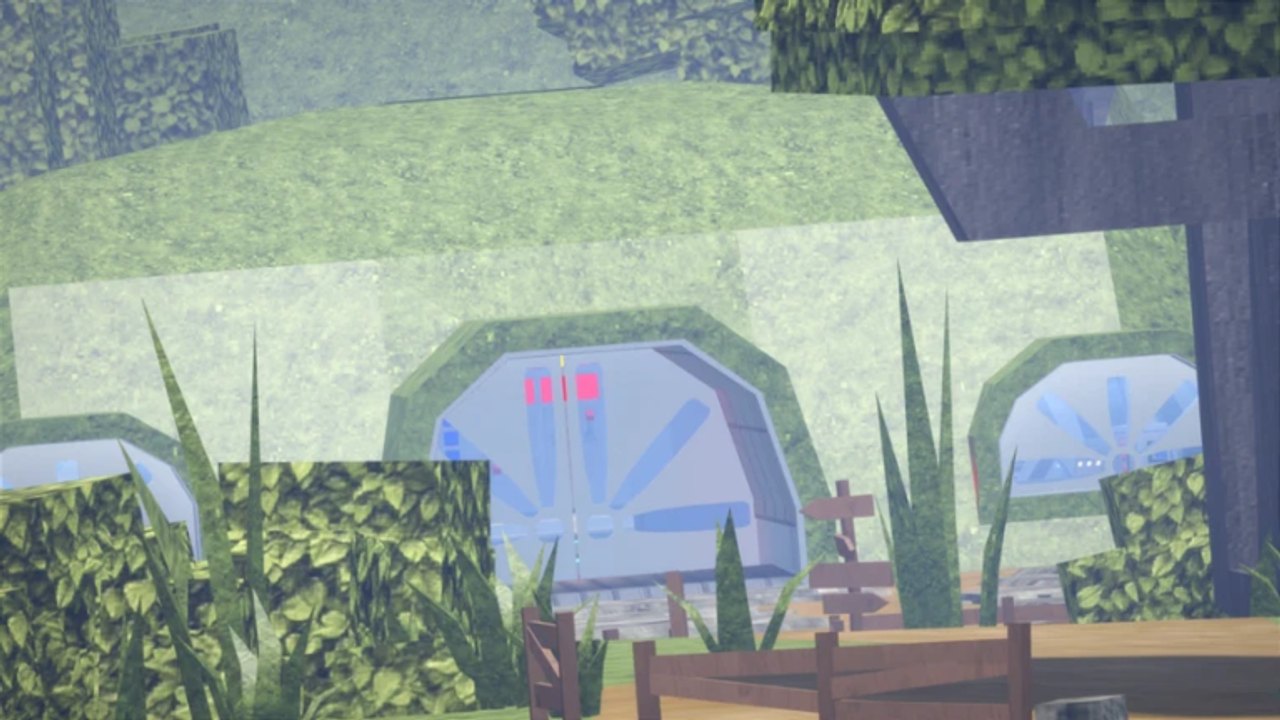
The Freedom badge is one of the longer secret hunts in BlockyTubbies. Unlike one-click pickups such as Gordon? or Snap!, Freedom asks you to chain map teleports, careful interactables, and sometimes awkward camera angles across several destinations. This guide explains how to prepare, how to follow a multi-step community route without getting lost, and how to recover when a prop has moved after a patch. Pair it with the master checklist on All Badges, the destination list on Maps Guide, and beginner tools from Getting Started. When you want another hard secret afterward, continue to Nightmare Badge.
Watch the mid-page video once for the visual path, then use this page as your written checklist. Interactable positions can shift after studio updates, so treat every landmark as a verified starting point and confirm in your own server plus Updates.
Why Freedom feels harder than early badges
Early badges reward a single prop or a short farm. Freedom is designed as a journey: you leave Lobby, clear a step, teleport, clear another step, and keep going until the award pops. That structure punishes players who skip teleports, forget the keycard or axe, or attempt the route in a sixty-player chaos lobby where tiny prompts get blocked. Expect to spend a full dedicated session rather than “grabbing it between Custards.”
Freedom sits in the same difficulty band as Nightmare and the seasonal Scythe orb marathon. Clear Welcome, Yummers, Chop-Chop, Shine Bright, Digging, and Gordon? first so map names and shift-lock habits are already muscle memory. The All Badges suggested order places Freedom near the end of the hard-secrets block for that reason.
Preparation checklist
- Finish Getting Started so you can open the teleport UI from Lobby without hunting menus.
- Own and equip the keycard and axe if any Freedom steps sit behind locked doors or breakables.
- Enable shift-lock (or first person) for vents, ledges, and small props.
- Prefer a private server or a quiet public instance. Crowds hide prompts and can push you off narrow paths.
- Open Maps Guide in a second tab and keep a notepad of which destinations you already cleared.
- Watch the Freedom video chapters once, pause between maps, then replicate slowly.
- Rejoin once before blaming a broken badge; inventory and prompt state sometimes need a fresh session.
Mobile players should practice camera drag on an easy badge first. Freedom steps that need precise clicks are much harder with an unlocked, shaky camera.
How the multi-step route usually works
Community Freedom tutorials share a common pattern even when exact props change:
Phase 1 — Lobby reset and first interactable
Start in Lobby, confirm teleports work, and complete the opening interactable shown in the current video. Do not skip Lobby orientation; if you cannot return on demand, a mid-route fall into Cave or Dream wastes the whole attempt.
Phase 2 — Facility and military-style stops
Many long secrets visit Research Lab, Custard Facility, Military Base, or Secret Lair. Bring the keycard for restricted doors. Use shift-lock when clicking terminals, crates, or wall props. If a door refuses the card, confirm you are on the correct facility map—players often confuse Custard Facility with Research Lab.
Phase 3 — Outdoor and vertical maps
Mountains, Outskirts, Cave, and Teletubby Land often host mid-route props on ledges, behind rocks, or near breakables. Equip the axe when the video shows wooden barriers. Move slowly near Cave vents; falling into the void is a common wipe for Someone was here and similar chains, and Freedom can reuse those awkward spaces.
Phase 4 — Lake, Cabin, Maze, or Dream finishers
Later steps may send you to Teletubby Lake islands, Cabin, Training Maze, Satellite Station, or Dream / Laa-Laa’s Dream. Lake islands already matter for Digging after shovel moves, so sweep carefully. Dream lighting can camouflage prompts—lower your walk speed and raise the camera. When the final interaction succeeds, the Freedom badge should award automatically; wait a few seconds before rejoining.
Exact map order belongs to the filmed tutorial for your patch. Use the phases above as a mental model so you never teleport randomly hoping for a lucky click.
Quiet-server tactics that actually help
- Host or join a private server when possible so nobody stands on your prompt.
- If you must use public servers, hop until population is low, then freeze your checklist and rush the remaining steps before the lobby fills.
- Tell friends you are on a badge run so they do not morph-block doorways for jokes.
- Screenshot each completed landmark; after a disconnect you will know where to resume.
- Combine Freedom nights with light Custard grabs only between teleports—do not abandon the chain for a twenty-minute farm loop mid-route.
Tools, teleports, and common failure points
Missing tools: Locked doors without a keycard look like a broken badge. Return to Getting Started pickups before rewriting the route.
Wrong map name: Guides that say “facility” without specifying Custard versus Research waste time. Match the video skybox and interior props, not just the label in chat.
Third-person mis-clicks: Switch to first person or tighten shift-lock when a prop refuses to register.
Outdated coordinates: Digging already moved to Lake islands; Freedom props can relocate the same way. After any big Updates drop, re-watch a recent Freedom clip before trusting year-old timestamps.
Void deaths in vents: Slow down, keep jump inputs deliberate, and avoid copying unsafe noclip myths from unrelated badges.
Badge delay: Wait for the Roblox award toast. If nothing appears after a correct final step, rejoin once, confirm you are on the live BlockyTubbies place (not an old mirror), and retry the last two interactables.
Suggested session plan (about 45–90 minutes)
- Warm up teleports: Lobby to five maps and back.
- Confirm keycard and axe still work on a practice door and breakable.
- Watch Freedom video chapters and jot the map order.
- Run Phase 1–2 on a quiet server with shift-lock on.
- Take a short break only after a natural teleport boundary.
- Finish Phase 3–4 without hopping into unrelated RP scenes.
- Verify the badge on your Roblox inventory, then celebrate with a Lobby screenshot.
- Optionally start Nightmare the same night while your teleport focus is still sharp.
How Freedom connects to the rest of the wiki
- Master list and easier badges: All Badges
- Destination reference: Maps Guide
- Beginner tools and controls mindset: Getting Started, Controls
- Next hard secret: Nightmare Badge
- Seasonal comparison: Scythe Badge when Halloween orbs are live
- Patch awareness: Updates
- Morph fantasy after you finish: Players, Tier List
Freedom is a patience badge. Treat it like a scavenger marathon across the teleport board, keep tools equipped, stay on a quiet server, and follow a current visual route map by map. Once it awards, the same habits make Nightmare, Digging re-checks, and seasonal orb hunts far less stressful.
Frequently Asked Questions
Quick answers to the most common BlockyTubbies questions.
Is the Freedom badge a single-click pickup?
No. Freedom is a multi-step secret that usually needs several map teleports, careful interactables, and a quiet server. Watch a current video and clear maps in order.
What should I unlock before attempting Freedom?
Learn Lobby teleports, grab the keycard and axe, enable shift-lock, and finish easier badges from the All Badges list so the long route feels manageable.
Why do people recommend a private server for Freedom?
Crowded sixty-player lobbies hide tiny prompts and can push you off narrow paths. Quiet servers make multi-step clicks far more reliable.
What if a Freedom prop is missing after an update?
Props move. Recheck Updates, compare a recent tutorial to your live server, and do not trust year-old coordinates alone.
Should I do Nightmare before or after Freedom?
Either works once teleports feel natural. Many players clear Freedom first, then Nightmare on Dream-focused routes while their focus is still high.